Tile Calculator
Calculate how many tiles you need for a floor, wall, or backsplash. Our calculator accounts for grout lines and waste to ensure accuracy. Professional-grade accuracy for your home projects.
How to use this calculator
Calculate the number of tiles needed for a floor, wall, or backsplash. Enter the total area to be tiled and the size of a single tile. Don't forget a waste factor for cuts and mistakes. Explore our Tile Guide for more tips.
Share This Professional Calculator
Found this helpful? Share it with your network to assist them with their home improvement projects.
Recommended Professional Tools
Precision-engineered calculators to streamline your most critical home project decisions.
Expert Guide to Tile
Step-by-Step Instructions
- 1
Step 1: Measure the Total Surface Area
Measure the length and width of the wall or floor surface you plan to tile in feet. For rooms with alcoves or cabinets, divide the space into separate rectangular sections and sum the areas. Remember to subtract the area of any permanent fixtures that will not be tiled, such as bathtubs or large fireplace mantels.
- 2
Step 2: Enter Specific Tile Dimensions
Input the nominal length and width of an individual tile in inches. It is vital to use the exact dimensions listed on the product packaging, as even a 1/4-inch difference can significantly alter the total tile count over a large surface area.
- 3
Step 3: Set Your Desired Grout Line Width
Choose the thickness of the space between your tiles. The industry standard is typically 1/8-inch or 1/16-inch. While seemingly small, the grout line width actually adds to the "effective area" of each tile, which our calculator accounts for in its final material count.
- 4
Step 4: Choose Your Installation Layout Pattern
Identify if you are using a standard "grid" pattern, a "running bond" (offset), or a complex "herringbone" layout. More complex patterns require significantly more cuts at the room perimeters, which directly impacts the required waste and breakage factor.
- 5
Step 5: Apply a Mandatory Breakage and Waste Factor
Include a minimum 10% safety margin for standard installations. We strongly recommend increasing this to 15% for large-format tiles or 20% for diagonal layouts to account for tiles that may arrive broken in the box or are shattered during the cutting process.
- 6
Step 6: Review the Complete Material Summary
Click calculate to generate your definitive shopping list. Our tool provides the total number of individual tiles, the estimated pounds of grout required, and the number of bags of thinset (mortar) needed based on standard coverage rates.
Pro Tips & Analysis
The most critical phase of a tiling project is Substrate Preparation and Layout. Before you apply your first trowel of thinset, you must verify that the surface is perfectly flat and structurally sound. Tile is a rigid material with zero flexibility; if your subfloor "bounces" or is uneven, the tile or the grout lines will inevitably crack as the house naturally settles. For floor installations, professionals check for "deflection" to ensure the joists meet the L/360 industry standard. Using a high-quality cement backer board or an uncoupling membrane (like Schluter-Ditra) is a professional standard that protects your investment from moisture damage and structural movement. Our calculator helps you estimate the tile, but remember that these secondary foundation materials are equally vital for a 50-year result.
Understanding Dye Lots and Caliber is another key to a professional-grade finish. Tile is a kiln-fired product, and every production run has subtle variations in color, texture, and size. When you receive your order, always verify that every box has the same "Dye Lot Number" to ensure a uniform look across your entire room. Furthermore, professional installers always use the "Dry Layout" technique. This involves laying out rows of tiles across the longest and widest parts of the room without mortar. This allows you to identify where "thin cuts" (slivers of tile) might occur at the walls. By shifting your starting point just a few inches, you can often balance the room so that the cuts on both sides are substantial and aesthetically pleasing. Our tool provides the total count, but the dry layout ensures that count is used with maximum visual impact.
Finally, choosing the correct Mortar and Grout is an engineering decision, not just an aesthetic one. Thinset mortar comes in modified and unmodified varieties; modified thinset contains polymers that improve bond strength and is mandatory for most modern porcelain and large-format tiles. For Grout, the choice between sanded and unsanded depends on the joint width. Sanded grout is used for joints 1/8-inch or larger to prevent shrinking and cracking, while unsanded grout is reserved for very thin joints to avoid scratching delicate glass or polished stone tiles. After the grout has fully cured, we highly recommend applying a high-quality penetrating sealer. Grout is naturally porous and will absorb stains and bacteria without this invisible protective barrier. Our tool estimates the quantities of these materials to ensure your shopping list is as comprehensive as a professional contractor's bid.
Scientific Calculation Methodology
The number of tiles is calculated by dividing the total area by the area of a single tile plus its grout joint margin.
Practical Example:
A 100 sq ft area with 12x12 tiles and 1/8" grout requires 100 / (1.01' × 1.01') = approx 98 tiles + 10% waste.
Achieving Precision Results
Check every box of tile for the same "Dye Lot" or "Shade" number to ensure the color is perfectly consistent.
Always "Back-Butter" large-format tiles (12x24 and larger) by applying a thin layer of mortar to the back of the tile before setting it.
Use a "Tile Leveling System" (clips and wedges) for large tiles to eliminate lip-page and ensure a perfectly flat floor.
Mix your grout to the consistency of peanut butter; if it is too watery, the color will be blotchy and the joint will be weak.
Let your tile sit in the mortar for 24 hours before walking on it or applying grout to prevent shifting.
Technical Fast Facts
- ✓Tiles from different "Dye Lots" can have visible color variations.
- ✓A 10% breakage factor is mandatory for tile orders.
- ✓Sanded grout is required for joints wider than 1/8-inch.
- ✓Porcelain tile is denser and more water-resistant than standard ceramic.
- ✓Grout sealer should be applied 48-72 hours after installation.
Expert Q&A
Explore Related Tools
Precision tools to complement your current calculation.
Paint
Estimate how much paint you need. Calculate the gallons of paint required for your walls, ceiling, and trim for any room in your house.
Flooring
Calculate the square footage of flooring needed for your project. Works for tile, laminate, or hardwood, including a vital waste factor.
Siding
Estimate the total siding material needed for your home. Calculate the squares of vinyl, fiber cement, or wood siding for your project.
Wallpaper
Calculate the number of wallpaper rolls you need. Our estimator accounts for pattern repeat and waste, ensuring you buy the right amount.
In-Depth Guides
Expert insights and advice to help you make informed home decisions.

Paint Calculator Truth: Why 'Coverage' on the Can is Usually Wrong in 2026
Discover why the square footage on the paint can is a best-case scenario and how to calculate your real-world needs in 2026.
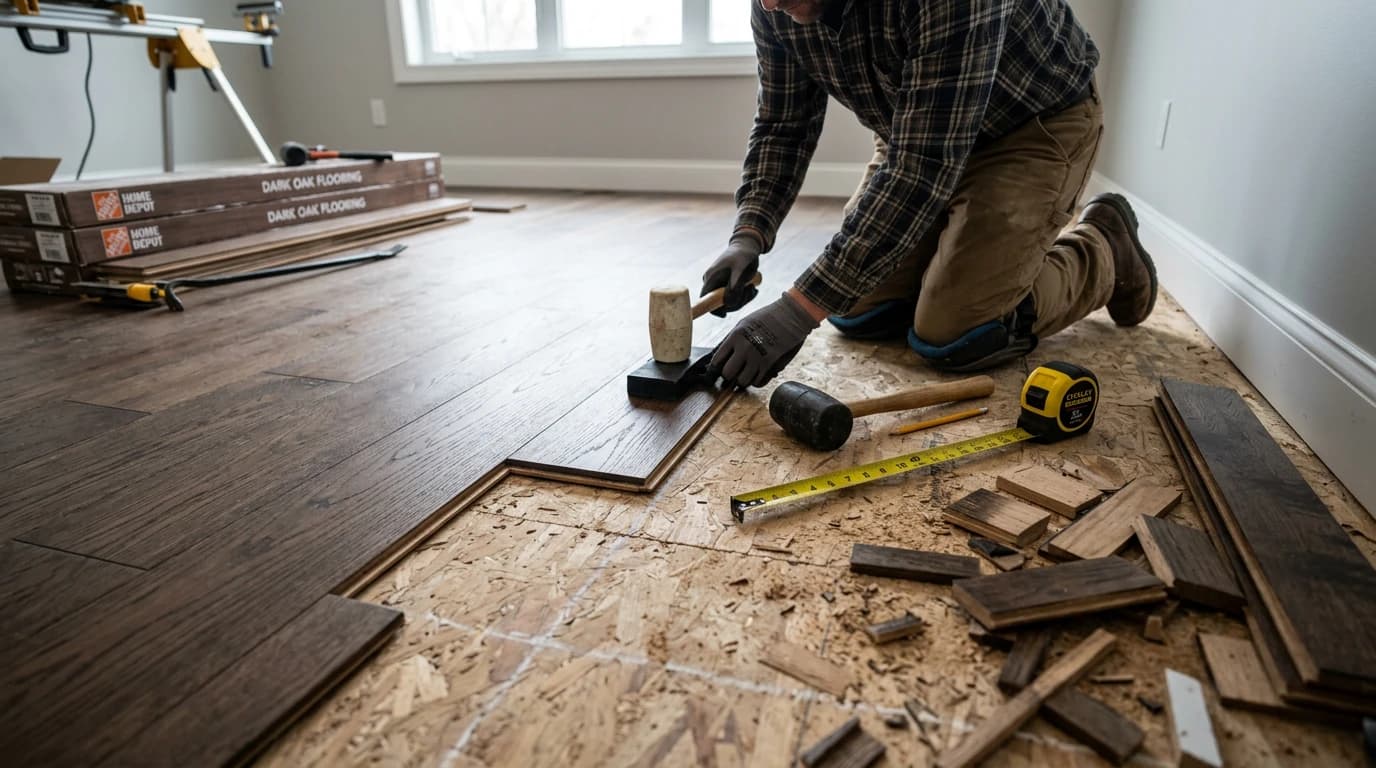
Flooring Waste Factor: Why You Need 10-15% Extra in 2026
Don't run out of flooring in 2026. Learn why you need 10-15% extra for waste, and why diagonal patterns or tile can require 20% or more.
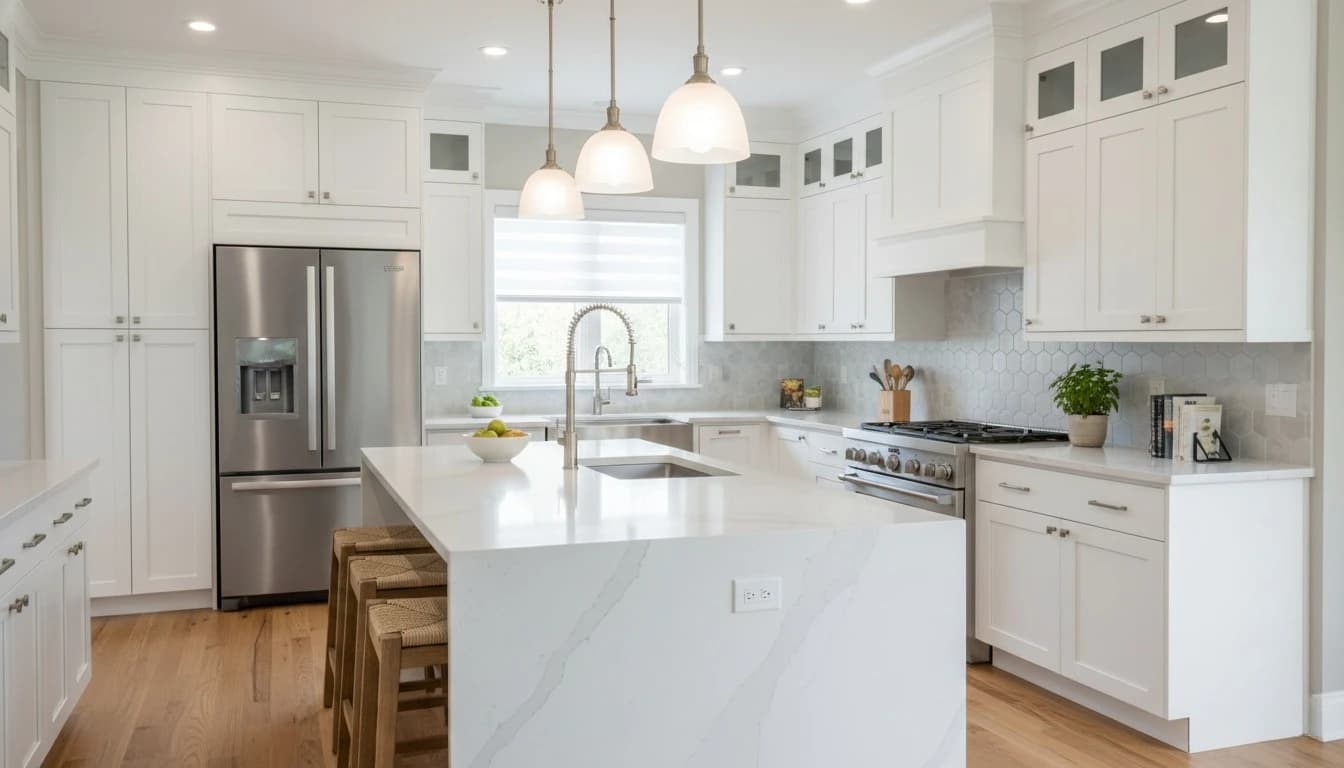
Kitchen Remodel Cost Guide 2026: Budgeting for Your Dream Space
The complete breakdown of kitchen renovation costs in 2026. From custom cabinetry to smart appliances, know where every dollar goes.