Flooring Calculator
Calculate the square footage of flooring needed for your project. Works for tile, laminate, or hardwood, including a vital waste factor. Professional-grade accuracy for your home projects.
Share This Professional Calculator
Found this helpful? Share it with your network to assist them with their home improvement projects.
Recommended Professional Tools
Precision-engineered calculators to streamline your most critical home project decisions.
Expert Guide to Flooring
Step-by-Step Instructions
- 1
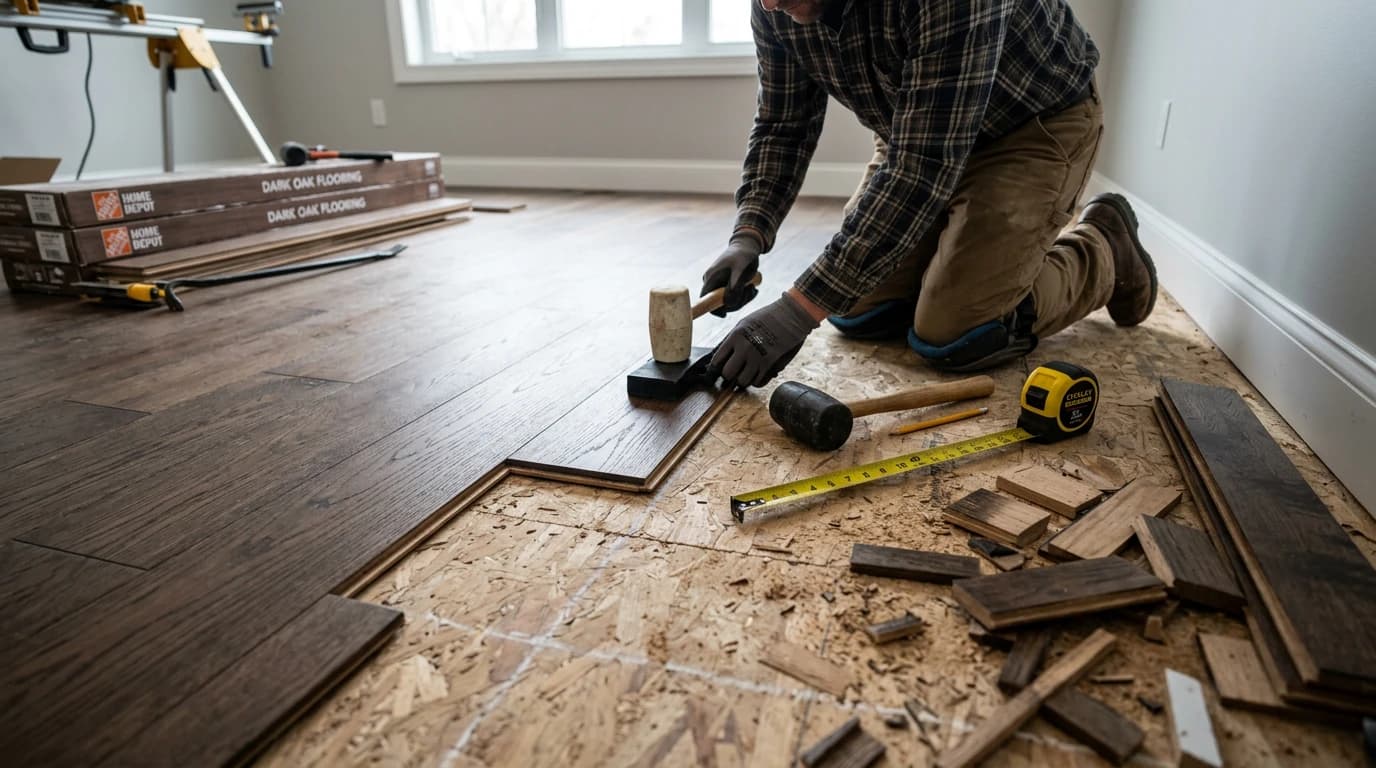
Step 1: Quantify Gross Floor Area
Measure the maximum length and width of the room from the base of the walls. For multi-part or L-shaped rooms, divide the floor plan into individual rectangular sections and sum their areas. This provides your "Net Square Footage," which is the baseline for your order.
- 2
Step 2: Account for Built-in Obstructions
Identify areas that will not receive flooring, such as kitchen islands, permanent cabinetry, or floor vents. For high-precision projects, subtract these square footages from your total. Conversely, ensure you measure into closets and alcoves where the flooring must continue seamlessly.
- 3
Step 3: Select Material-Specific Waste Factors
Apply a waste factor based on your chosen material. The industry standard is 5-7% for vinyl plank (LVP), 10% for solid hardwood, and 12-15% for ceramic or porcelain tile. This extra material accounts for cuts, breakage during transit, and mistakes during the installation process.
- 4
Step 4: Factor in Installation Pattern Complexity
Determine your layout style. A standard "Straight-Lay" pattern uses the least material. If you choose a "Diagonal" or "Herringbone" pattern, you must increase your waste factor by an additional 5-10% to account for the significantly higher number of complex miter cuts at the perimeter walls.
- 5
Step 5: Define Material Packaging Requirements
Check the "Square Feet Per Box" listed on your chosen product. Our tool will divide your total required area (including waste) by this figure to give you the exact number of boxes to purchase. Always round up to the next full box to ensure color lot consistency.
- 6
Step 6: Review Final Estimates and Logistics
Review the total square footage and box count. Use these figures to verify shipping weights and delivery requirements. Remember that a large order of tile or hardwood can weigh several thousand pounds, requiring a reinforced subfloor or specialized delivery equipment.
Pro Tips & Analysis
The most critical phase of any flooring project occurs before the first plank is laid: Acclimatization and Subfloor Integrity. Solid wood, engineered hardwood, and even many high-quality laminates are hygroscopic, meaning they absorb and release moisture from the air. If these materials are installed immediately after delivery, they will inevitably expand or contract as they reach equilibrium with your home's humidity, leading to buckling, cupping, or unsightly gaps. Professionals mandate that materials "acclimatize" in the room where they will be installed for at least 48 to 72 hours. Simultaneously, the subfloor must be inspected for "planarity." A modern "floating" floor requires a subfloor that is flat to within 3/16 of an inch over a 10-foot span. If your subfloor is uneven, our material calculator results are only the beginning—you will also need to budget for "Self-Leveling Underlayment" or mechanical grinding to ensure a silent, stable finish.
Understanding Waste, Pattern, and Structural Transitions is what separates a DIY attempt from a professional result. Every time a flooring row reaches a wall, a cut must be made. While the "off-cut" can sometimes be used to start the next row, this is only possible if the piece meets a minimum length (typically 8-12 inches) required for structural integrity. In rooms with many corners, hallways, or angled walls, the "Off-Cut Waste" increases dramatically. Our calculator factors in these variables to protect your project timeline. Furthermore, you must plan for Expansion Gaps and Transition Moldings. Floating floors are not fixed to the subfloor; they must be able to "move" as a single unit. This requires a 1/4" to 1/2" gap at every wall, which is then covered by baseboards or quarter-round. Doorways between rooms often require "T-Moldings" to allow for independent movement of different floor sections. We recommend adding these linear trim components to your shopping list alongside the square footage provided by our tool.
Finally, focus on Color Lot and Batch Consistency. Natural materials and even synthetic products like LVP are manufactured in "batches" or "runs." While two boxes may look identical, those from different production lots can have subtle but visible variations in color, sheen, or texture. When using our calculator, always order your full amount (including the 10-15% waste) in a single transaction from the same batch. If you run short and have to buy more later, you risk a "shading" mismatch that cannot be fixed after installation. Professionals always "rack" their floor by pulling planks from 3 to 4 different boxes simultaneously and mixing them across the floor. This blends any minor batch variations into a natural, beautiful finish that is consistent from wall to wall.
Scientific Calculation Methodology
The calculation determines the total required material by multiplying the net floor area by a waste factor (1.10 for 10%) and then dividing by the box capacity.
Practical Example:
A 20x15 room (300 sq ft) with 10% waste for hardwood: 300 × 1.10 = 330 sq ft. If boxes contain 22 sq ft: 330 / 22 = 15 boxes exactly.
Achieving Precision Results
Use a "Laser Distance Measurer" for long spans to ensure your measurements are accurate to within 1/16 of an inch.
Always "Undercut" your door casings with a pull-saw or multi-tool; this allows the flooring to slide under the trim for a professional, "tucked" look.
Check every single plank or tile for defects as you pull them from the box; it is much easier to exchange a box now than to fix a flaw later.
Invest in high-quality "Underlayment." It acts as a moisture barrier, a sound dampener, and provides the "cushion" that makes a floating floor comfortable to walk on.
Use a "Spacers" kit to maintain a perfectly uniform expansion gap around the perimeter of the room during the entire installation.
Stagger your joints by at least 6-8 inches between rows. This "bricking" pattern is essential for the structural stability and aesthetic flow of the floor.
For tile projects, use a "Leveling System" (clips and wedges) to eliminate "lippage"—the vertical offset between adjacent tiles.
Calculate your "Last Row Width" before you start. If your last row will be less than 2 inches wide, "rip" your first row down slightly to balance the room.
Technical Fast Facts
- ✓The industry standard waste factor is 10% for straight-lay and 15% for diagonal patterns.
- ✓Hardwood flooring requires 48-72 hours of on-site acclimatization before installation.
- ✓Luxury Vinyl Plank (LVP) is the most popular flooring in 2026 due to its 100% waterproof nature.
- ✓A 1/4-inch to 1/2-inch "Expansion Gap" is mandatory for all floating floor systems.
- ✓Batch or "Lot" numbers must match across all boxes to ensure color and sheen consistency.
Expert Q&A
Explore Related Tools
Precision tools to complement your current calculation.
Tile
Calculate how many tiles you need for a floor, wall, or backsplash. Our calculator accounts for grout lines and waste to ensure accuracy.
Decking Materials
Quickly estimate your deck materials. This tool calculates the number of decking boards and framing components for a simple rectangular deck.
Carpet
Estimate how much carpet you need for your room. Accounts for standard roll widths and waste factors for a perfect installation.
In-Depth Guides
Expert insights and advice to help you make informed home decisions.

Paint Calculator Truth: Why 'Coverage' on the Can is Usually Wrong in 2026
Discover why the square footage on the paint can is a best-case scenario and how to calculate your real-world needs in 2026.
Flooring Waste Factor: Why You Need 10-15% Extra in 2026
Don't run out of flooring in 2026. Learn why you need 10-15% extra for waste, and why diagonal patterns or tile can require 20% or more.
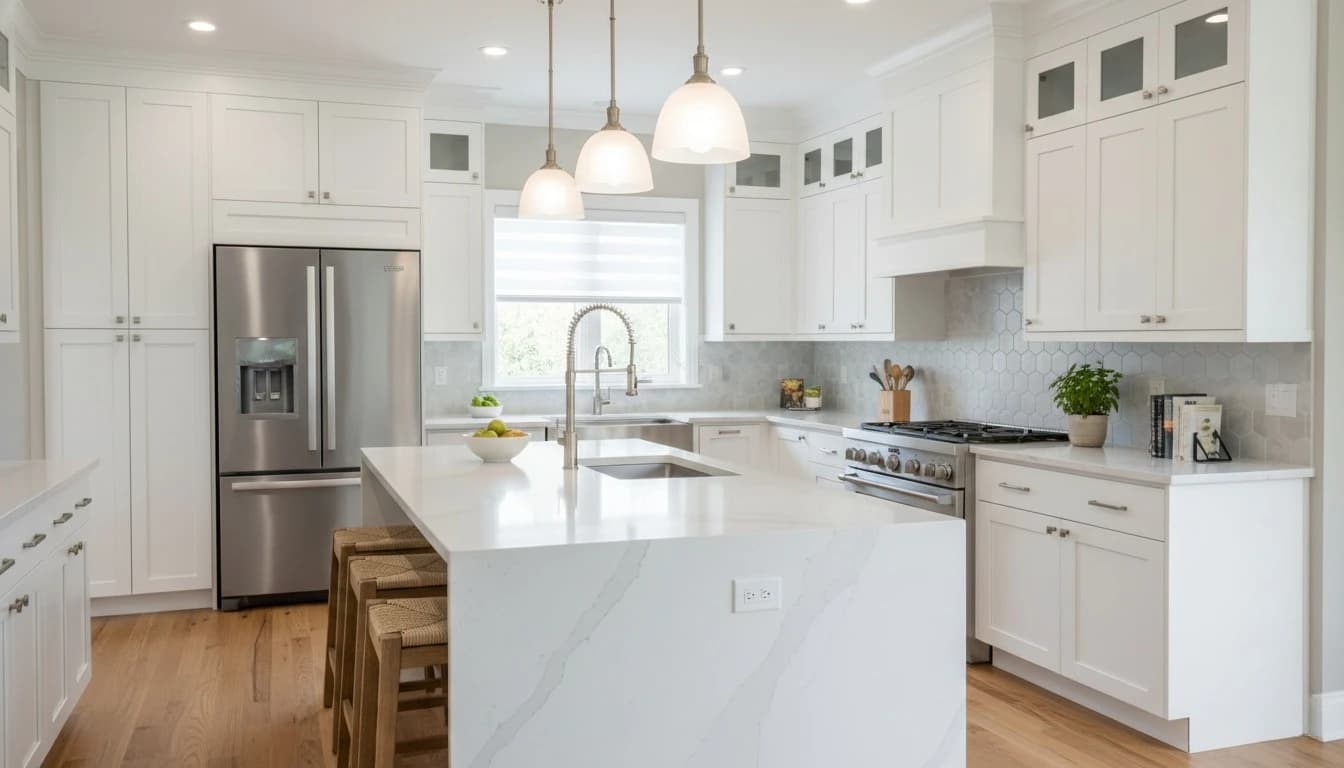
Kitchen Remodel Cost Guide 2026: Budgeting for Your Dream Space
The complete breakdown of kitchen renovation costs in 2026. From custom cabinetry to smart appliances, know where every dollar goes.